A great way to organize your pages is to use the spacing and border (divider) shortcodes that come with our themes. To use this shortcode, you will need to ensure your have the WC Shortcodes plugin installed and activated.
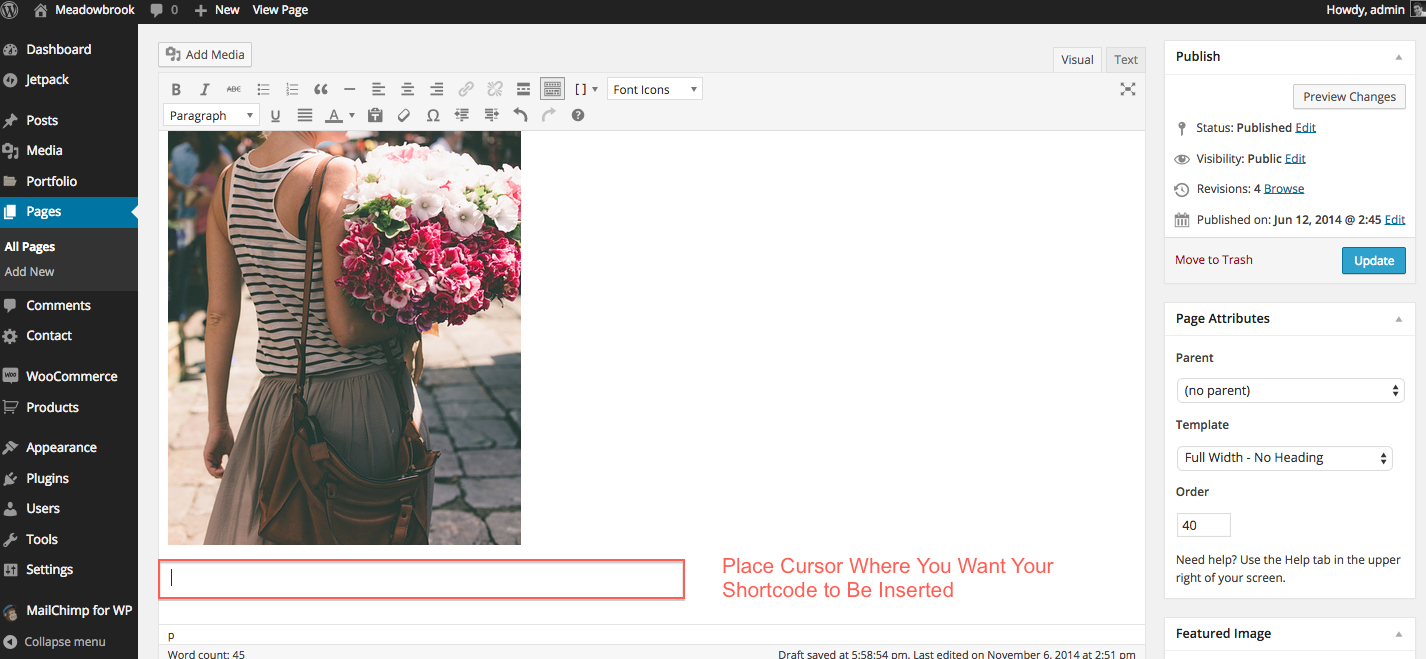
1. Edit the page or post where you want to insert your divider line. Place your cursor where you want the divider line to appear.
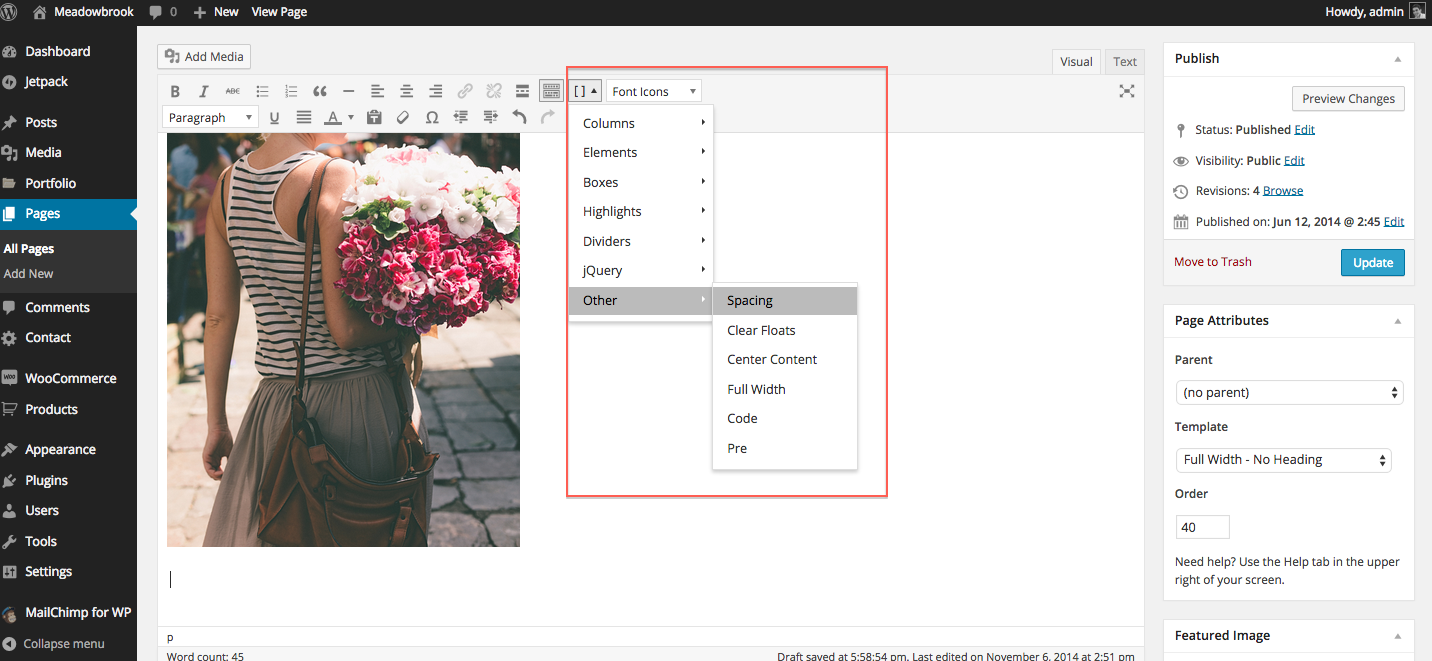
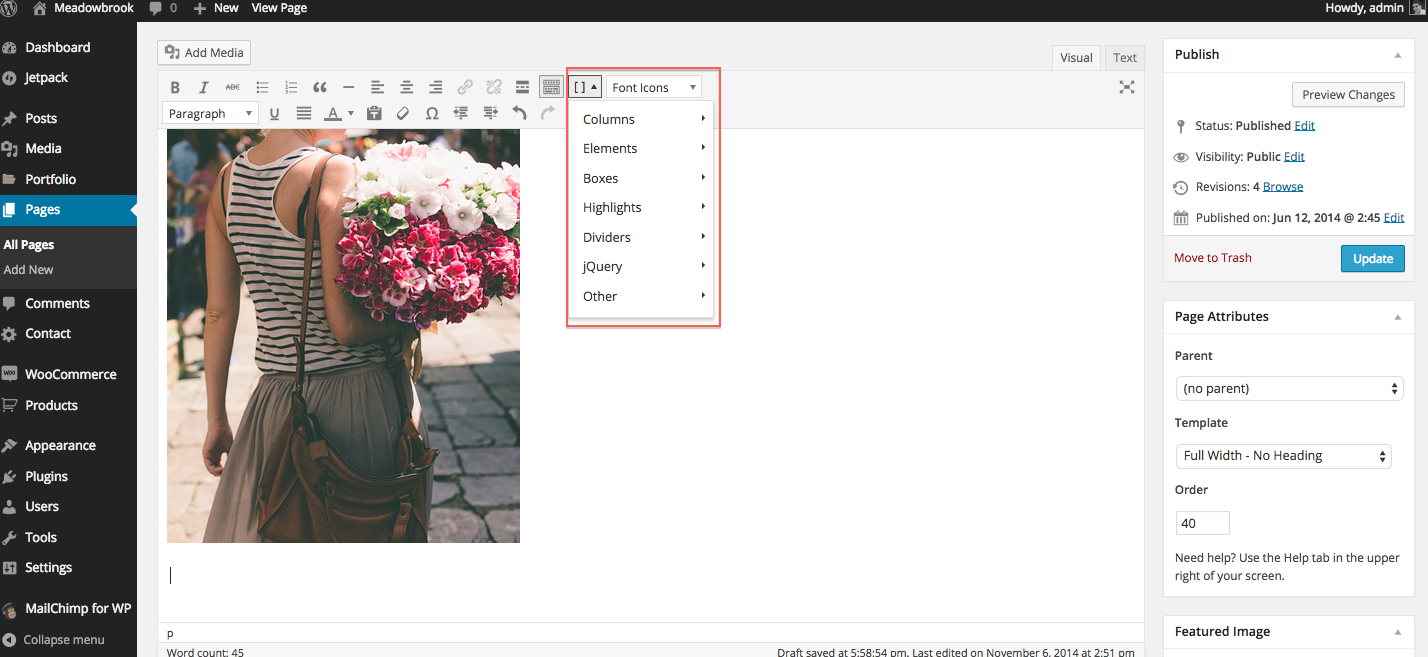
2. Go to your shortcode inserter and select Dividers from the dropdown.

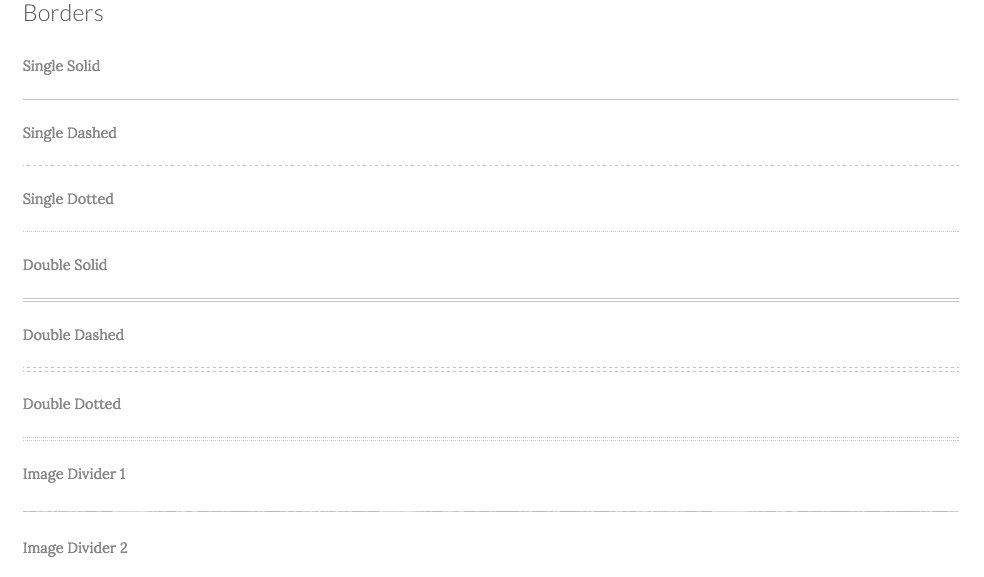
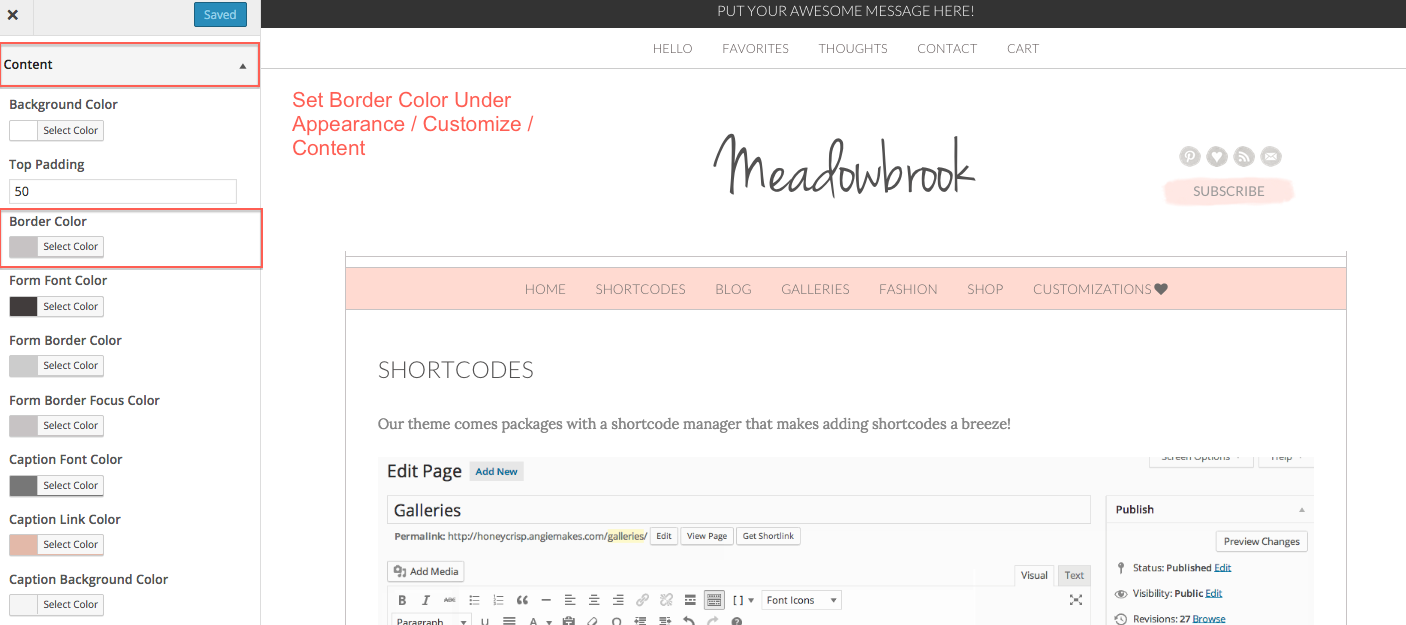
3. Choose your options. By default you can insert a solid line, dashed line, dotted, or double border. The color for these borders is set under Appearance /Customize / Content. You will also notice that there is an option for image 1, image 2, and image 3. Some of these borders come with your various themes.
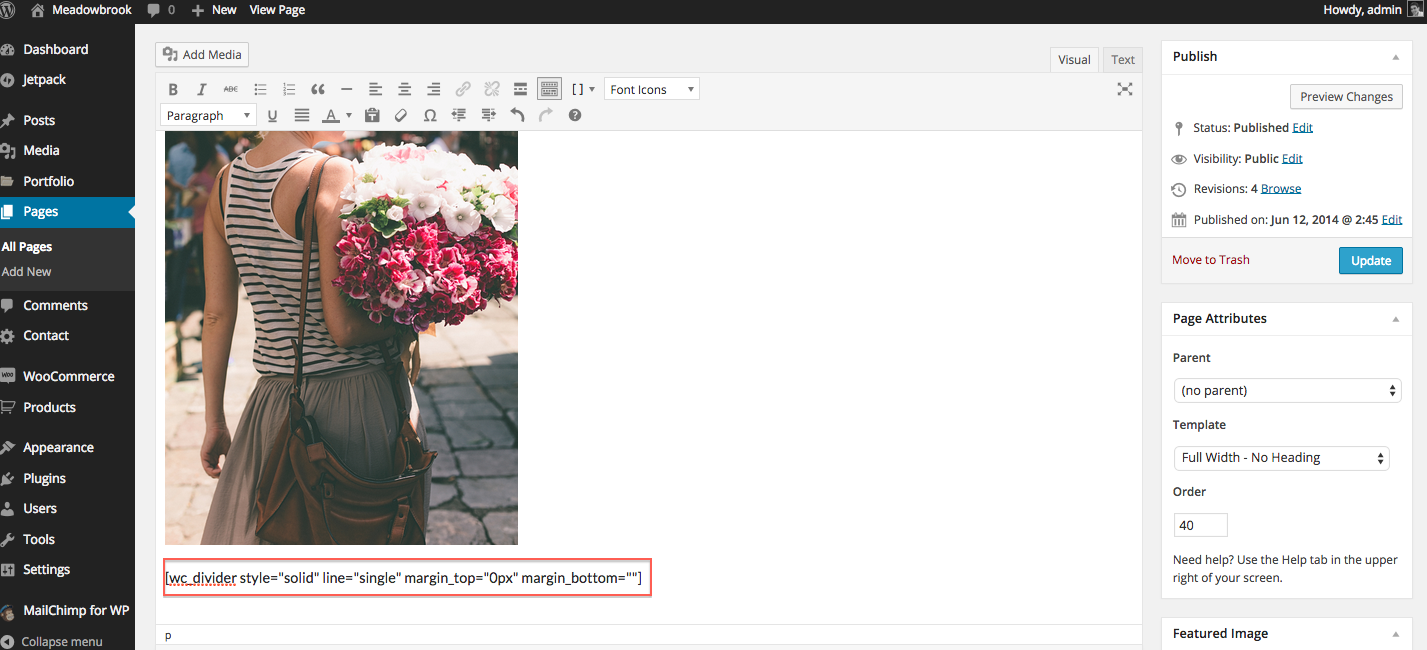
4. You will see that the shortcode has some parameters. You can set the margin above or below the actual divider line. In my case, I want there to be as little space as possible, so I am going to insert 0px. This stands for zero pixels. You can choose any number you like. The bigger the number, the more space will be added above and below your divider line. Make sure you put whatever number then px.
5. Save your page, your divider should be visible.
6. You can use the same technique to add spacing to your pages.